How to create an App for iOS?
The different steps of developing a mobile application, whether it is Android or iOS, always remain the same. Together we will discover how to create an application for Apple’s operating system. This platform has some particularities that are important to take into account to create a successful application.
When we say “iOS”, we immediately think of the iPhone, yet Apple’s software is the king of tablets. If you want to create an iOS application that is available on the iPad, you’ll need to make some adjustments, such as adapting the size of typography and images to different screen resolutions, in order to maintain their readability.
You will obviously need several skills to create your application, including graphic design, or coding. We will see together the different steps to follow to complete your project.
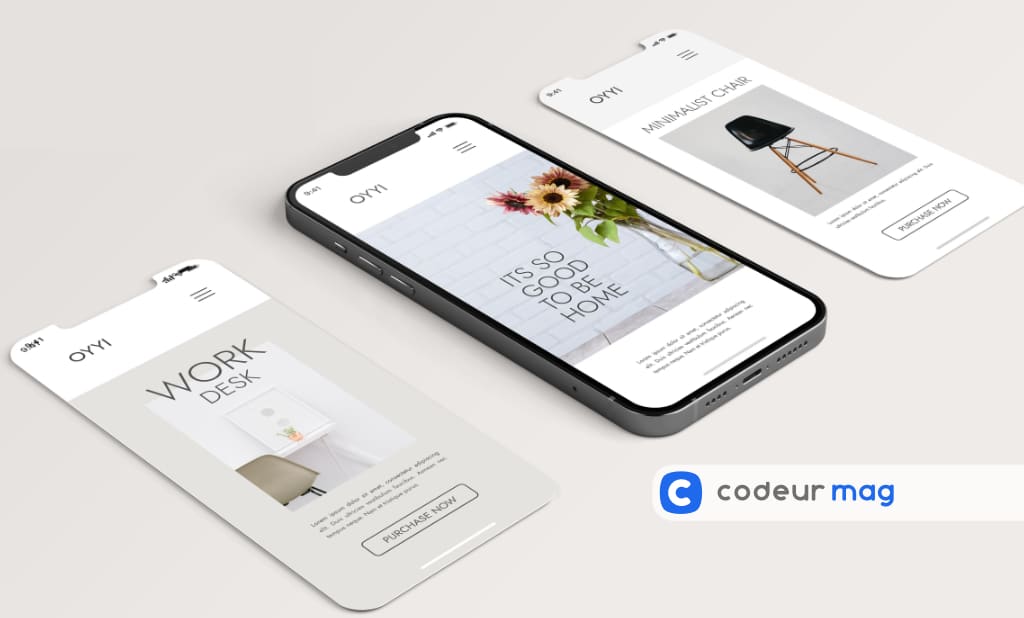
Design the graphical interface of your iOS application
There are several options open to you to make your app come to life visually. You will need icons and several other graphical elements, vectorized.
Hire a freelance designer to create the design of your application
You can use a site like Codeur.com to find a freelancer.
You can also browse sites like Behance or Pinterest to find interfaces of designs you like, and save them to guide the freelancer of your choice.
Hire a graphic designer
If your budget is limited, there is nothing to stop you from adding someone competent to your team. He must be as interested as you are and believe in the project! This is an option of last resort, as professionals are often overwhelmed by such requests, which they are not interested in.
Use pre-built application design templates
Some sites sell application templates that you can buy and then customize.
This will be cheaper than hiring a designer to create a 100% custom design, but you have to take into account the risk that your application will look like an existing application, which used the same template as you…
Learn how to create your own app design:
If you’re interested in design, roll up your sleeves and learn how to design your own app! However, be aware that this is a real profession, it will take you some time before you can create something decent!
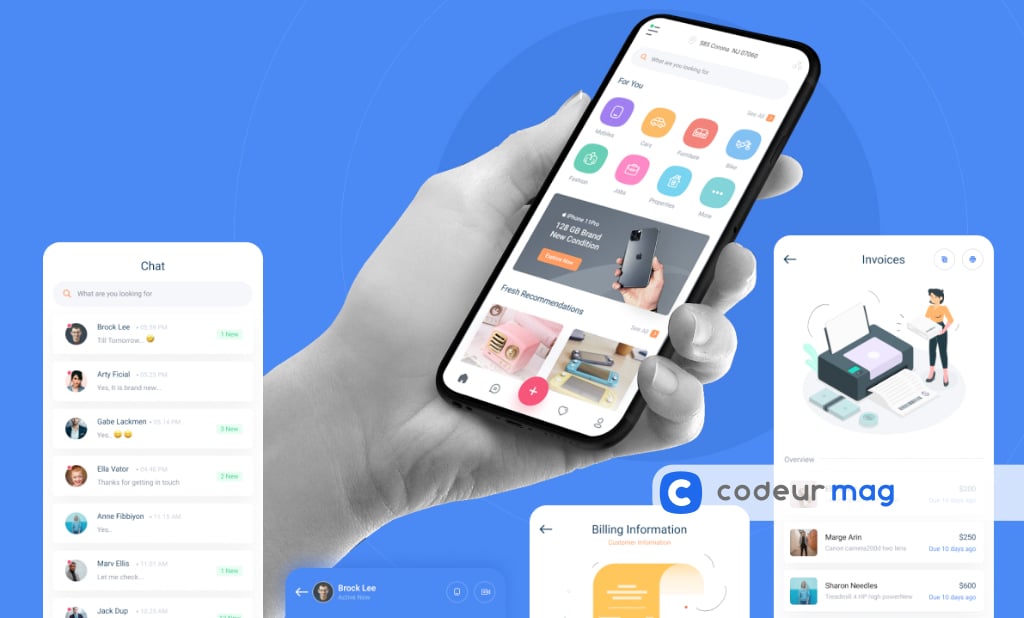
Build the application
This is the stage where your application comes to life, bringing together its specifications and design.
Just like the previous step, you have several options for making your application.
Use a freelancer
And yes, once again, the easiest way is probably to find a freelancer who will create your app for you. On Codeur.com, you can find many profiles: webdesigners and UX designers to model the interface of your iOS application, but also iOS developers to develop it!
You can also find the rare pearl with a freelance who will know how to create your iOS application from A to Z. Post your project for free to receive proposals from Codeur.com professionals!

There are also companies that specialize in application development, which will additionally provide its consulting and project management services. However, using such a company will cost much more than working with freelancers.
Team up with a mobile developer
Another option is to find a mobile developer to partner with. The problem is the same as with a graphic designer: it’s hard to find a willing partner unless you have a proven track record of building a business.
Use an App Builder
If you are looking for a way to create an application without coding, you should know that there are services that allow you to create an application by selecting a template, and modifying the design…
Often, these platforms charge you a monthly fee to keep your application running.
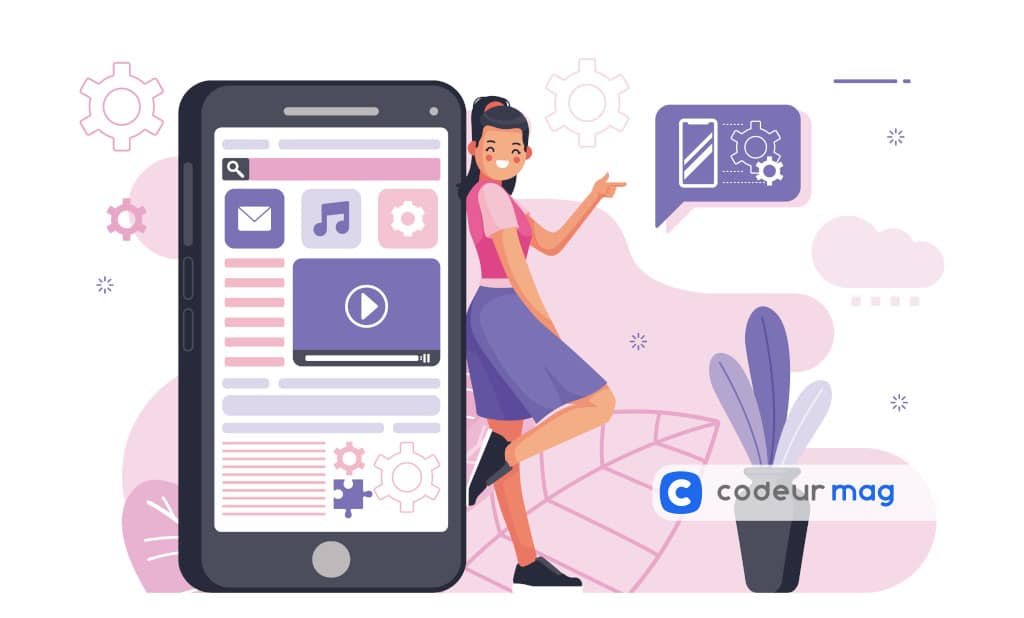
Learn how to code your application
This is the most time-consuming option, but it will give you new (and much needed) skills to create your own applications.
You also have the option of buying an application template and customizing it: you buy code that contains the basic functions you will need (you may be able to find a template that is closer to your application idea). These templates usually only cost one time, and then you can either hire a freelancer to customize it, or learn to code yourself from that base.
First you’ll need to download and install Xcode: This is the development environment in which all iOS apps are created. You can download Xcode for free.
You won’t be able to run Xcode (officially…) on Windows or Linux: if you want to develop an iOS application without an Apple machine, you’ll have to buy a Mac. You’ll need your Apple ID to download Xcode.
To develop the application, you’ll also need to download the iOS SDK containing the APIs that allow you to use features like Touch ID or iCloud.
Also read: Flutter vs React Native: which one to choose?
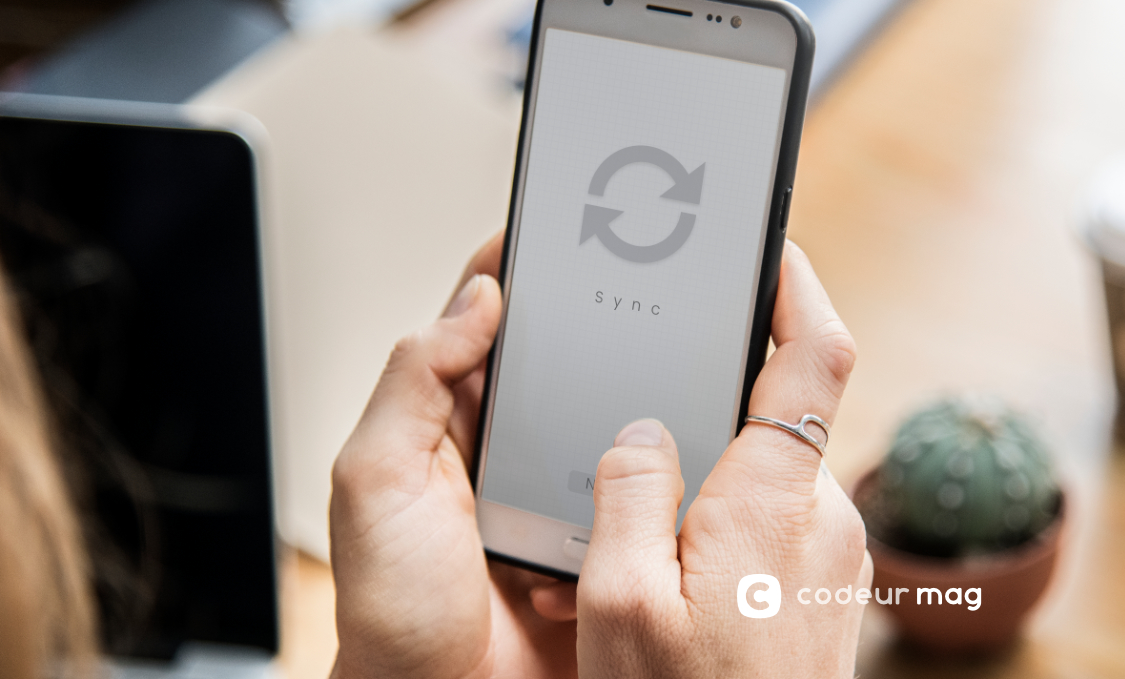
Test the iOS application
Xcode comes with a built-in iOS simulator that allows you to test your app on a large number of iOS devices. Unfortunately, testing with a simulator is not enough.
Also test your application on your own iPhone.
Test your application well in order to find (and fix) any bugs or errors you encounter. You can also use tools like TestFlight to facilitate this task, especially if your application is complex.
Of course, when you publish the application on the store, it will certainly still contain several bugs but the less there will be, the more your users will be happy. They will also be there to report the various bugs they have encountered.
Debug your application
If your application crashes, you need to find out what happened and why. This is a huge topic and there are hundreds of reasons why your application crashes.
Open the debugging console and read the error messages. Most of the time they are incomprehensible, and I am not here to explain them to you…. If you don’t understand what the error means, try googling the error message. Chances are you’ll find a topic on the Apple development forum.
Publish your application!
Create a developer account
You need to create an Apple developer account in order to be able to distribute your app on the App Store, or even just to distribute it to other people during the testing phase.
This account costs about 95 € per year and you will have to fill in your bank account number. You can create your account on the iOS Dev Center website.
Make sure your application meets the requirements
Look at the App Store guidelines. Fix what needs to be fixed before you go any further.
Fill in the metadata of your application
App Store Connect is a website where you can create the list of your application and fill in all the important details such as title, description, keywords…
You will also define your screenshots and any presentation video you want to add.
Submit your application for review:
You are nearing the end, it is time to add notes for the reviewer and then submit your application to the application certification team. You will now wait for someone to manually review the application you submitted!
This person will verify that your app meets the App Store guidelines (but you met step 2) and that your app does not crash or provide a poor user experience.
Within two or three days, you will receive an approval or rejection response. A rejection is not a big deal, ask around, it happens to everyone. Just correct what you didn’t like and submit it again!
Conclusion
Creating an iOS app can look like a real obstacle course, but if you are motivated then you will quickly become passionate about this adventure! If you don’t feel capable of doing it, or if you are in a hurry, there are professionals at your disposal.